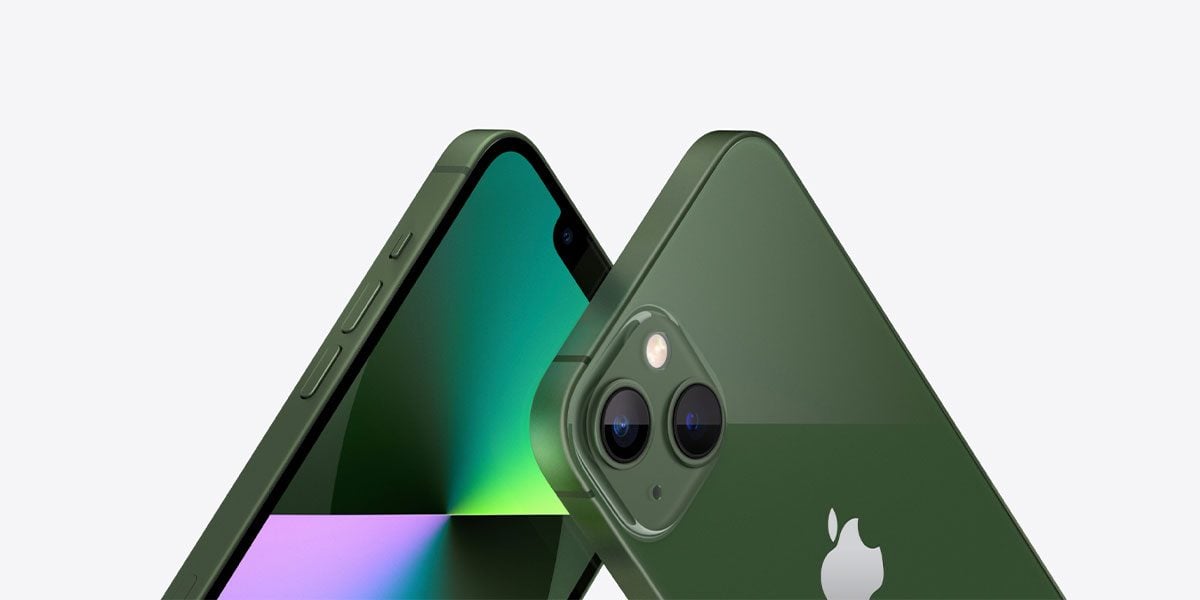
Flashback to September 2021, the sparkling new iPhone 13 hit the market and Apple fans all over the world were eager to get their hands on the new device – even if that meant queuing up outside of their local Apple store for hours! If you were one of the lucky ones who were able to secure the device, or even if you’re a recent iPhone 13 user, we’ve put together a list of 10 handy iPhone 13 hacks you need to know.
1. Put A Stop To Apps Tracking You
We’ve all been in the situation where you’ve typed something random in on an app, and ever since then, you can stop seeing ads/content based on your search. The majority of apps nowadays track various patterns of usage and data whilst you use their app, this is done to serve you more relevant and personalised content in the future. Some people love this tracking feature, but some hate it. For all those who find this feature too invasive, you’ll be happy to hear the iPhone 13 now allows you to block apps from tracking your usage. If you go to Settings > Privacy and select ‘Tracking’ you should see a toggle at the top of the screen that says ‘Allow Apps to Request to Track’. By turning this toggle off, this will prevent apps from even being able to ask you to track your usage – no cookies gained, and a final stop to in-app tracking.
2. Scan Text Through Your Camera
Pretty much every important document these days is digitalised, whether it’s a contract, an important bill or even your ID. The ‘Live Text’ feature on the iPhone 13 allows you to scan any physical text with your camera, and automatically transfer it over to your device. All you have to do is open your camera, position your device so the text is clearly within the shot, and a yellow frame should appear around the detected text. Then you should be able to manipulate the grab points you want and then copy and paste the text into any space of your choosing (your notes app for example). This super cool feature also works with photos you’ve previously taken. All you have to do is simply go to your camera roll, highlight any text within a photo, then you should be able to copy it and paste it elsewhere – pretty cool stuff right?
3. Facetime With Non-Apple Users

Facetime over the years has become a huge hit amongst Apple users, but I’m sure everyone has a friend who is solely team Andriod. But did you know that you can actually Facetime with someone who doesn’t own an Apple product? – A Windows or Android user for example. All you have to do is go into Facetime > Select Create Link > Press Copy, and then you can send this link through messages or even email. Any person on the receiving end of this link no matter what device they’re on will automatically be able to Facetime with you. We think Facetime is so great that everyone should be able to enjoy it.
4. Send Web Pages Via Siri
As humans, we’re constantly interacting with our friends via our phones, whether that’s an actual phone conversation, or simply sending memes back and forth. If you’re on a webpage you want to show a friend, instead of copying and pasting the link, you can now get the famous Siri to do all the hard work for you. All you have to do is whilst on the web page, say “Hey Siri send this to *insert friend name*”. Then Siri will then automatically copy this link and send it over to the person of your choice via text message. Sending content made easy.
5. Turn Your Live Pictures Into Videos
We’ve all probably played around with the famous ‘Live Photos’ option on our iPhone cameras. But these types of photos can only be played within our camera rolls if we press the image and hold down. However, if you press the ‘Share’ icon on any live photo of your choice (which is located in the bottom left-hand corner), scroll down and then select ‘Save As Video’. This will then save your live photo as a 3-second video instead within your main camera roll – you’ll be surprised as to just how much is captured within only 3 seconds! The hassle of holding down your live photos just to view them is finally over.
6. Require Attention For Face ID

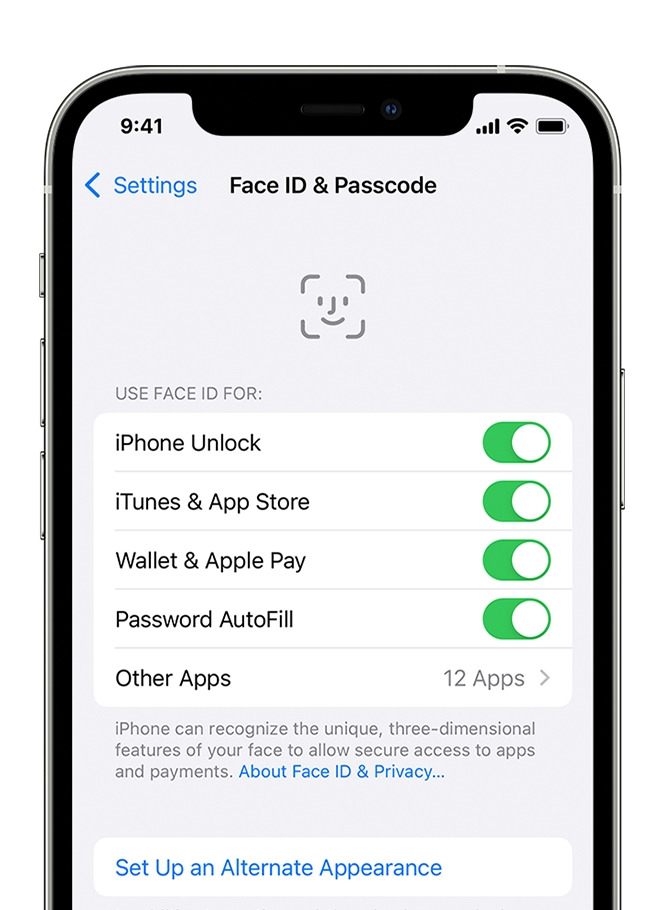
I’m sure you’ve seen all the funny tweets online of people expressing their worries about their iPhone being unlocked via Face ID whilst they’re asleep – I mean it is a pretty valid concern. Well, you’ll be thrilled to hear that you can actually stop this travesty from happening. If you go to your Settings > Face ID & Passcode > and make sure both the ‘Require Attention For Face ID’ and ‘Attention Aware Features’ toggles are both on. This will then require both your eyes to be open and looking at the screen in order to unlock your device via Face ID. Even if this isn’t a concern for you, it’s still recommended that you do this as an extra level of protection for your device’s sensitive data.
7. Bundle Non-Important Notifications

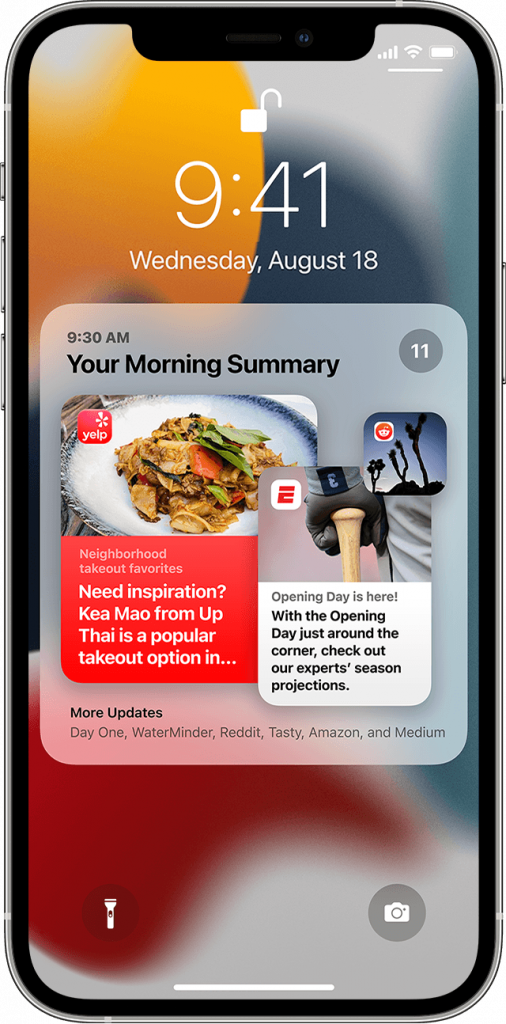
If you’re a person who is a serial app downloader you probably get a million unimportant notifications a day ranging from 20% off sales to new filters being available -which at times can be distracting. iOS 15 has a cool feature called ‘Notification Summary’ which enables you to bundle all the less important notifications together and allows you to receive them at the same time rather than receiving random pings throughout the day. To do this all you have to do is go to Settings > Notifications > Scheduled Summary > then toggle this on. After this, you’ll automatically be taken to a setup page where you can scroll select the apps you deem less important and want to include within your summary (you can make as many different summary groups as you want). After you’ve added the apps to your summary you can now schedule specific times you want these notifications to appear as a group. Once this is done, all you’ll need to do is press the ‘Turn On Notification Summary’ button at the bottom, and from now on only the apps that aren’t included within your summaries (i.e the important ones) will show immediately and at whatever time throughout your day.
8. Double Tap The Back Of Your iPhone To Screenshot
Fumbling to press the right buttons in order to take a simple screenshot can be quite annoying. With the right accessibility function enabled you can simply tap twice on the back of your iPhone 13 to take a screenshot instead. Head to Settings > Accesbaility > Touch > Back Tap > Double-tap and then find ‘Screenshot’ within the presented list (warning you might have to do a bit of scrolling). Now when you double-tap the back of your iPhone it will now take a screenshot! No more faffing around with buttons.
9. Photographic Styles
Another cool new camera feature on the iPhone 13 is Photographic Styles. Unlike your bog-standard filters, Photographic Styles allows you to adjust and fine-tune aspects like warmth, brightness and contrast to create an aesthetic that will be applied to all of the photos you take. To use this head to your Camera, and select the camera controls button . Then select the photographic styles button
. Swipe left to a get a preview of all the different styles, and if desired customise the style by tapping the Tone and Warmth controls which sit below the frame. Lastly, tap the photographic style button again
to apply the style to your camera.
If you perhaps have a change of heart and want to change your photographic style at any point, just select the photographic styles icon again at the top of your screen.
10. Keyboard To Trackpad
Sometimes it can be quite tricky to precisely move your cursor whilst you’re typing on your iPhone – especially if it’s a lengthy bit of text. To defeat this issue you can actually turn your keyboard into a trackpad, instantly giving you better precision whilst navigating through text on your device. To do this is simple. All you have to do is press and hold the space bar while typing (this will then make any other keys grey out). Then swipe your finger across the spacebar (still holding down on the screen) to enter keyboard trackpad mode. Now you’ll be able to move your text cursor anywhere on your screen with immaculate precision. To exit this mode just simply lift your finger. Once you try this you’ll never go back to standard text selection again.


