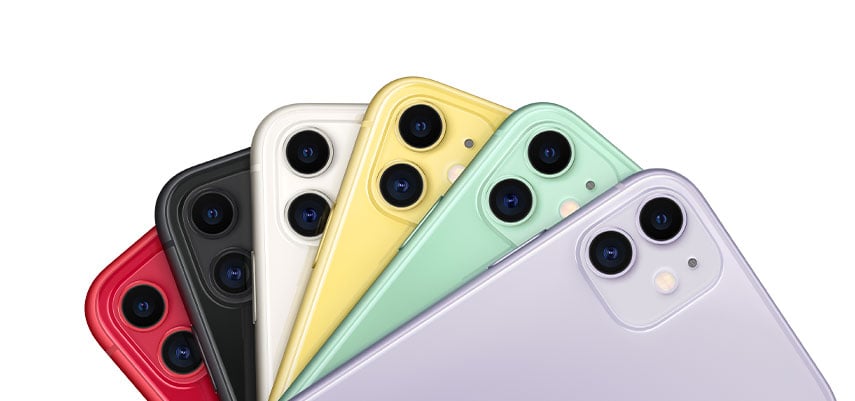
Despite being over a year old now, there’s no denying that the iPhone 11 is a potent tool. It’s been designed by Apple, a company with years of experience in making intuitive and user-friendly smartphones. The iPhone 11’s camera is top-notch, its screen is vibrant, it has exceptional battery life, and yes, it can take screenshots.
While the ability to take a screenshot is hardly new, it is a fundamental function on the iPhone. However, if you’ve just upgraded from the iPhone 6s, iPhone 7, or iPhone 8 to the iPhone 11, you might be rather perplexed by the missing home button. The lack of a home button means the process of taking a screenshot on the iPhone 11 is different to that on older iPhones and can be a real challenge.
So, to help you out, this article explains how to screenshot on the iPhone 11, as well as how to save it, edit it and share your screenshot.
Looking for the best iPhone 11 deals? View deals.
Getting Started
The steps to take a screenshot on the iPhone 11 are pretty simple once you know how to do it. But, before you get started, you need to determine whether you’re operating your iPhone conventionally or using AssistiveTouch.
If you’re operating your iPhone 11 conventionally, then you’ll simply need to go to the image or text that you want to take a screenshot of. Alternatively, if you’re using AssistiveTouch, you’ll need to have this primed and ready. You can turn AssistiveTouch on by going to Settings > Accessibility > Touch > AssistiveTouch.
How Do You Screenshot on an iPhone 11?
Now, you’re all set up to start taking screenshots on your iPhone 11. The easiest way to screenshot on iPhone 11 is:
- Put one finger on the volume up button of your iPhone, and one finger on the lock Press both buttons quickly at the same time. Don’t hold these buttons – this will bring up the Power Off screen.
- Once you’ve pressed and released these buttons, the iPhone’s screen will flash, and the phone will make a shutter noise.
- Next, a compressed version of the screenshot that you’ve just captured will appear in the bottom left-hand corner of your screen.
- You can tap on the screenshot to bring up the Edit screen.
- If you’re using AssistiveTouch, you’ll want to make sure you’ve selected the correct prompt from the menu.
So, as you can see, taking a screenshot on an iPhone 11 isn’t too difficult. However, if you’re new to the Apple series, navigating your way through all the techy commands and functions can be a little confusing.
How to Save Your Screenshot
Congratulations – now you know how to take a screenshot on an iPhone 11, you’re going to want to save it for later use. To save your screenshot simply follow the steps below:
- Click on the compressed version of the image in the corner of your screen.
- This will bring up a small menu in which you can view the screenshot, add annotations, or make comments.
- Click ‘Done’. Now, you have the choice to delete the screenshot or save it to your iPhone.
If you choose to save the screenshot for later, it will automatically be sent to the Photos section of your iPhone 11. You can access the screenshot from the Photos app, or from the corresponding menu option in a variety of different apps.
Once you’ve taken a screenshot on your iPhone 11, you can also edit it, including cropping it, mark it up, adding text, a signature, or highlighting boxes. Make sure you do this before saving it as you won’t be able to make modifications later.
How to Share Your Screenshot
Now you know how to screenshot on an iPhone 11 and how to save it, but what if you want to share it?
If you want to share your screenshot, all you have to do is:
- Find your image saved in the Photos app
- Tap the Share icon at the top-right hand corner of the screen
- This will bring up a range of sharing and saving options
- Scroll horizontally through the range of apps you can use to share the screenshot (e.g. Mail, Whatsapp, Messenger, Twitter etc.).
- Below the app options, find a vertical array of different options, including Print, Save to Files, Add to Shared Album, and Create Watch Face.
- Tap whichever sharing option you’d like and follow the on-screen instructions
And there you have it – it really is that simple to take a screenshot on an iPhone 11.


