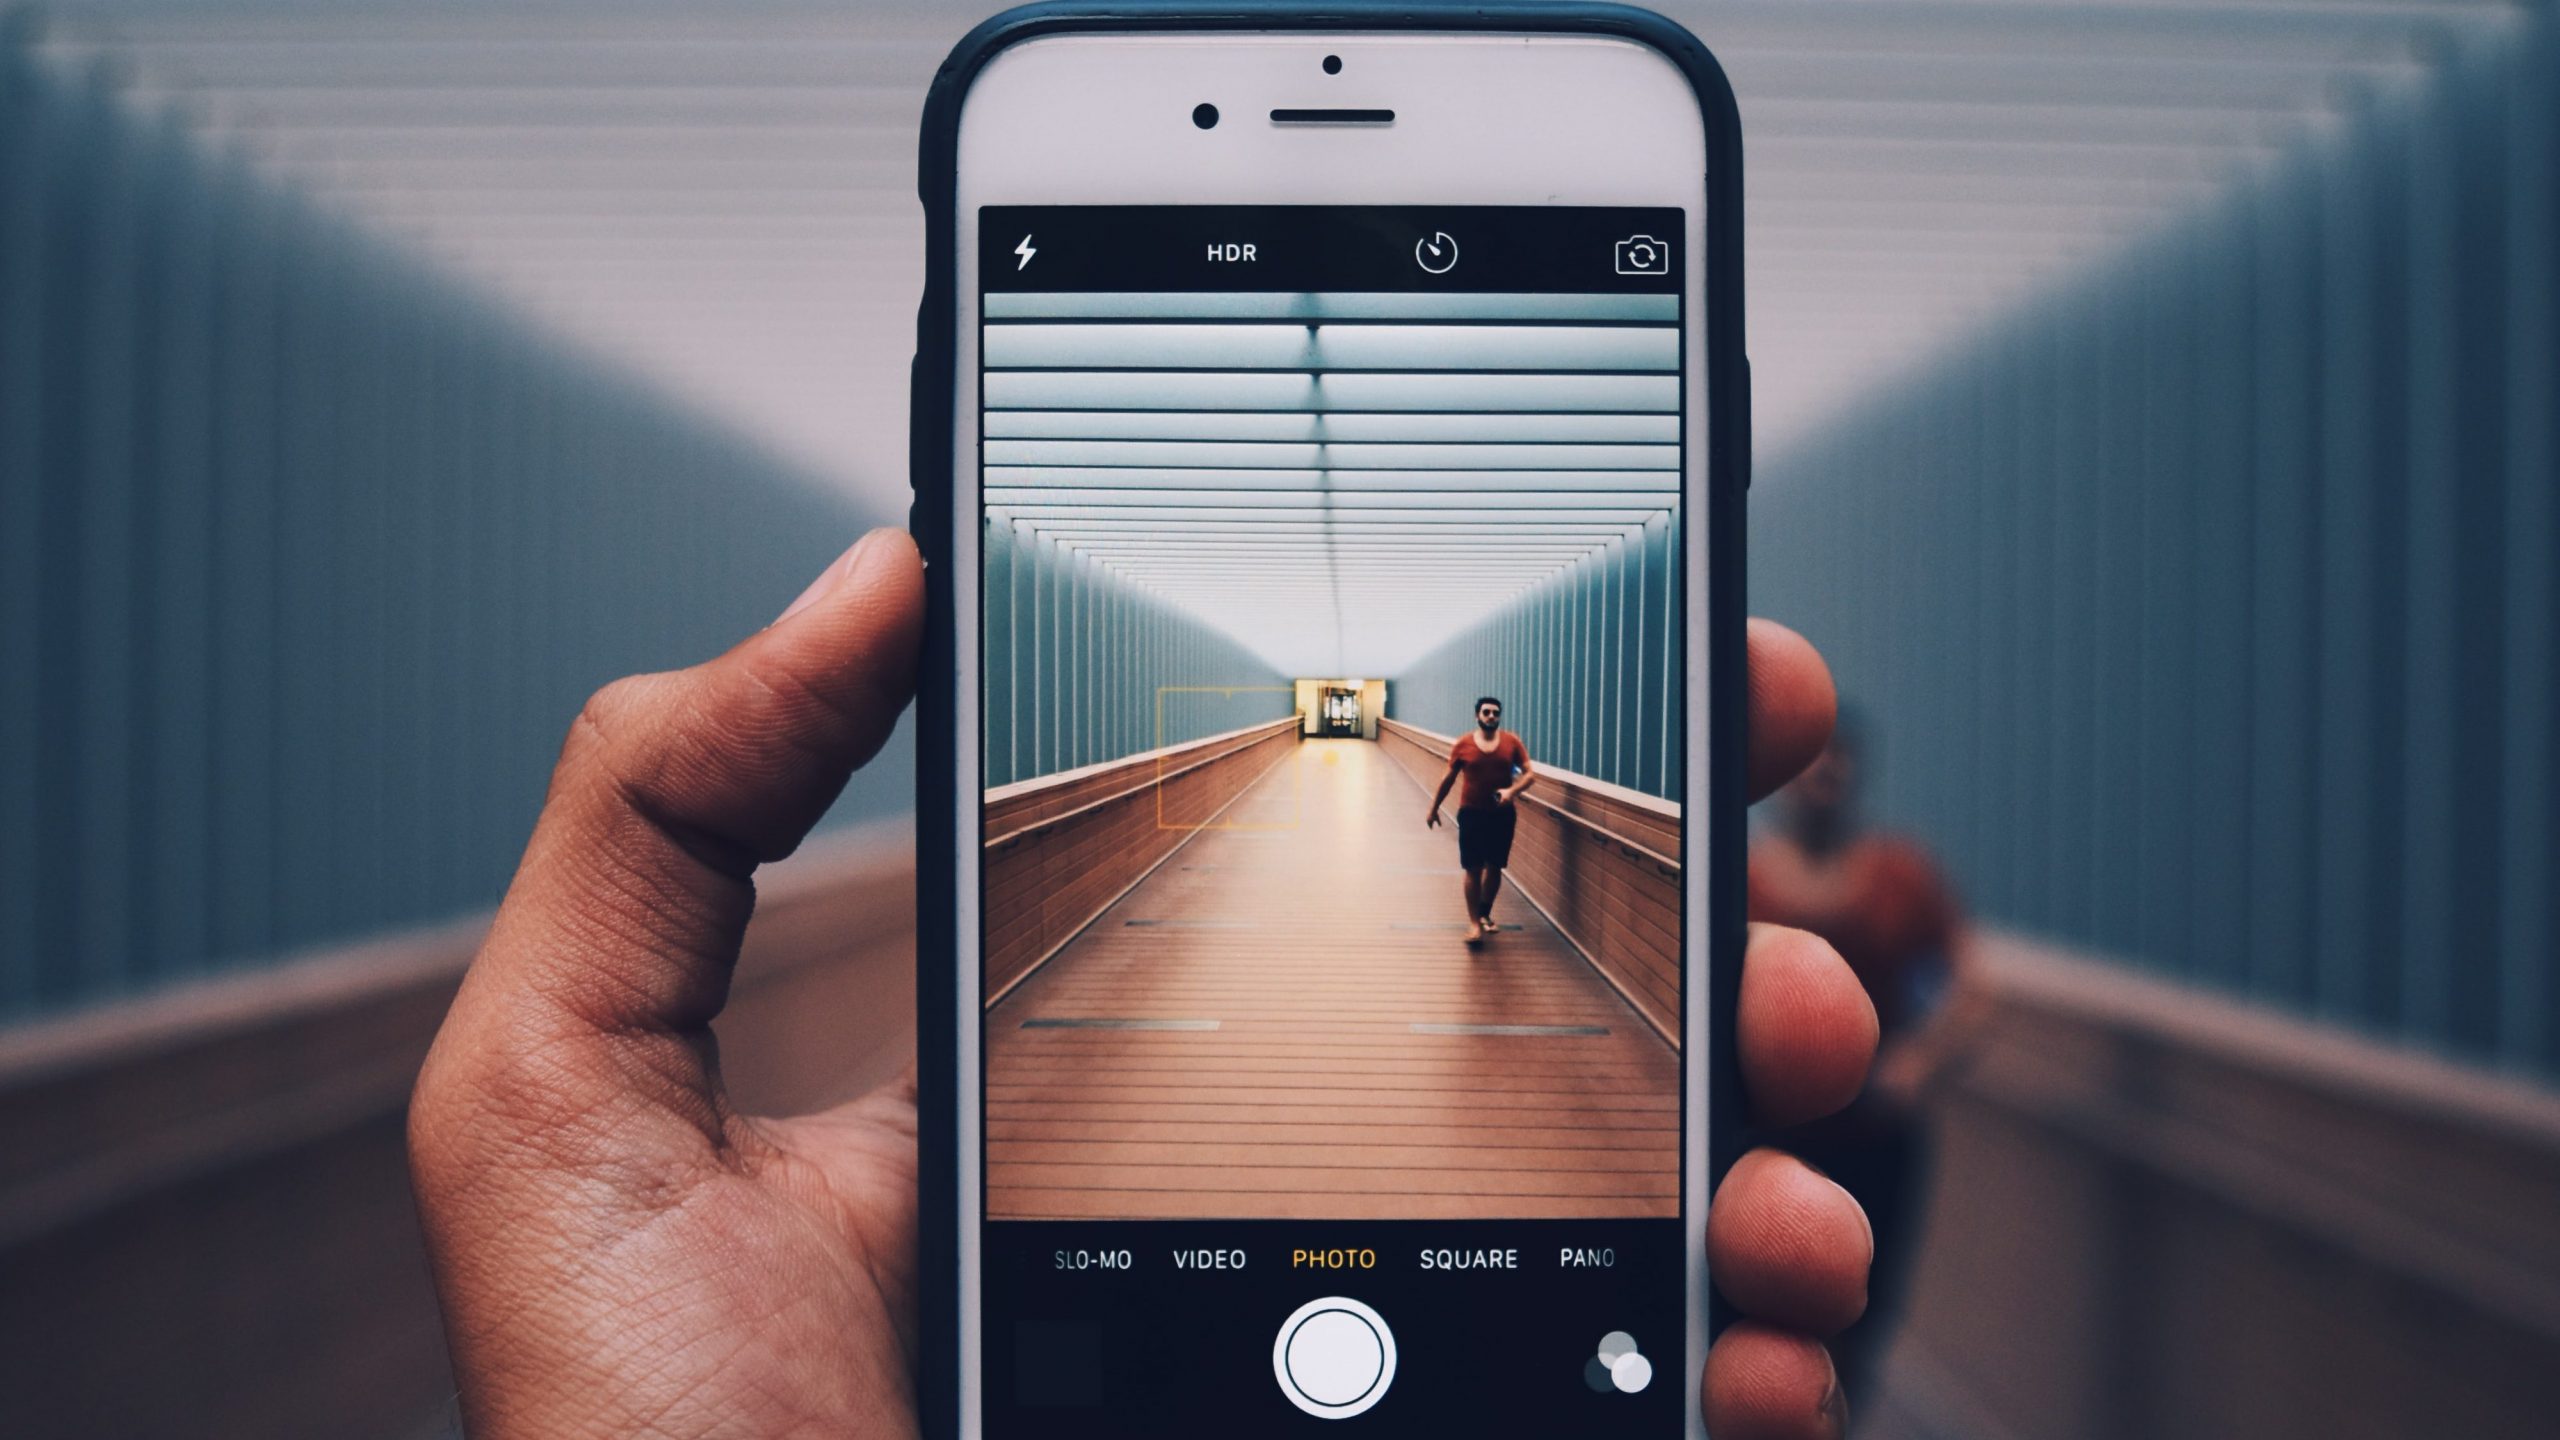
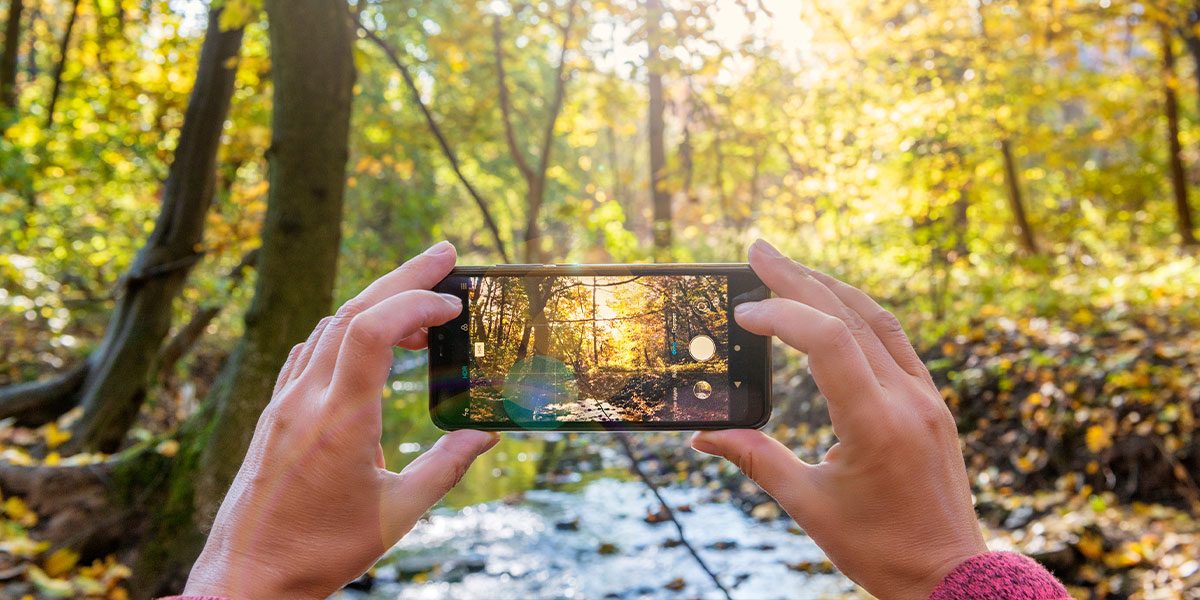
We all have the part of ourselves that deep down that is basically a self-acclaimed photographer. Historically in the early days of mobile phone releases, you had to actually invest in a camera in order to take professional-worthy photos -a lot of effort we know. Nowadays we’re lucky enough to have stunning high-quality cameras which are incorporated within our handsets instead – professional worthy photography in the palm of our hands. We at Fonehouse want you readers to have the best photo’s possible, so we’ve put together a trustee FAQ guide to phone photography, keep reading and enjoy!
What Is The Best Phone For Photography?
There are a lot of amazing handsets on the market which excel when it comes to photography. It seems as if with every device launch, each telecommunications company is trying to outdo each other with how impressive their camera is. One camera we think is worth all the hype is on the Samsung Galaxy S22 Ultra. The rear of this device has an impressive quadruple-camera array. This consists of a 12MP ultra-wide lens, a 1080MP Wide-angle lens, a 10MP telephoto lens with 3X Optical Zoom and lastly, a 10MP additional telephoto lens with 10X optical zoom- if reading that just sounded like a bunch to tech talk, in simpler terms this device provides users with crystal clear imagery with wide coverage at a touch of a button
How To Start Photography With Your Phone

Photography is becoming more popular than ever. Whether that’s professionally or for fun, it’s a creative avenue that is truly booming. If you’re a beginner at phone photography we recommend that you start by making use of the handy gridlines feature to balance your shot. By turning this feature on, a series of symmetrical grid lines broken into thirds (horizontally and vertically) will appear on your screen. The theory is that if your subject of interest is within the intersections, this will create tip-top photo composition, and will balance out any empty space – making your shot instantly more visually appealing.
Another tip we recommend you do to get your phone photography game up to the next level is fine-tuning and amending certain aspects of your shots. Smartphones over the years have come a long way. Most phone cameras nowadays autoselect aspects like the brightness, focus and exposure of your shot, but if you take it into your own hands to personalize these instead, it can be a big help in improving the overall quality of your images. On most handsets, once you open your camera app there’s normally a dial or slider which allows you to adjust the brightness and exposure level. If on the other hand, your camera isn’t focusing the way you’d like it to, on the majority of devices like iPhones and Samsungs, all it takes is a simple tap on the area you want to focus on instead to readjust.
Which Phone Is Best For Night Photography?

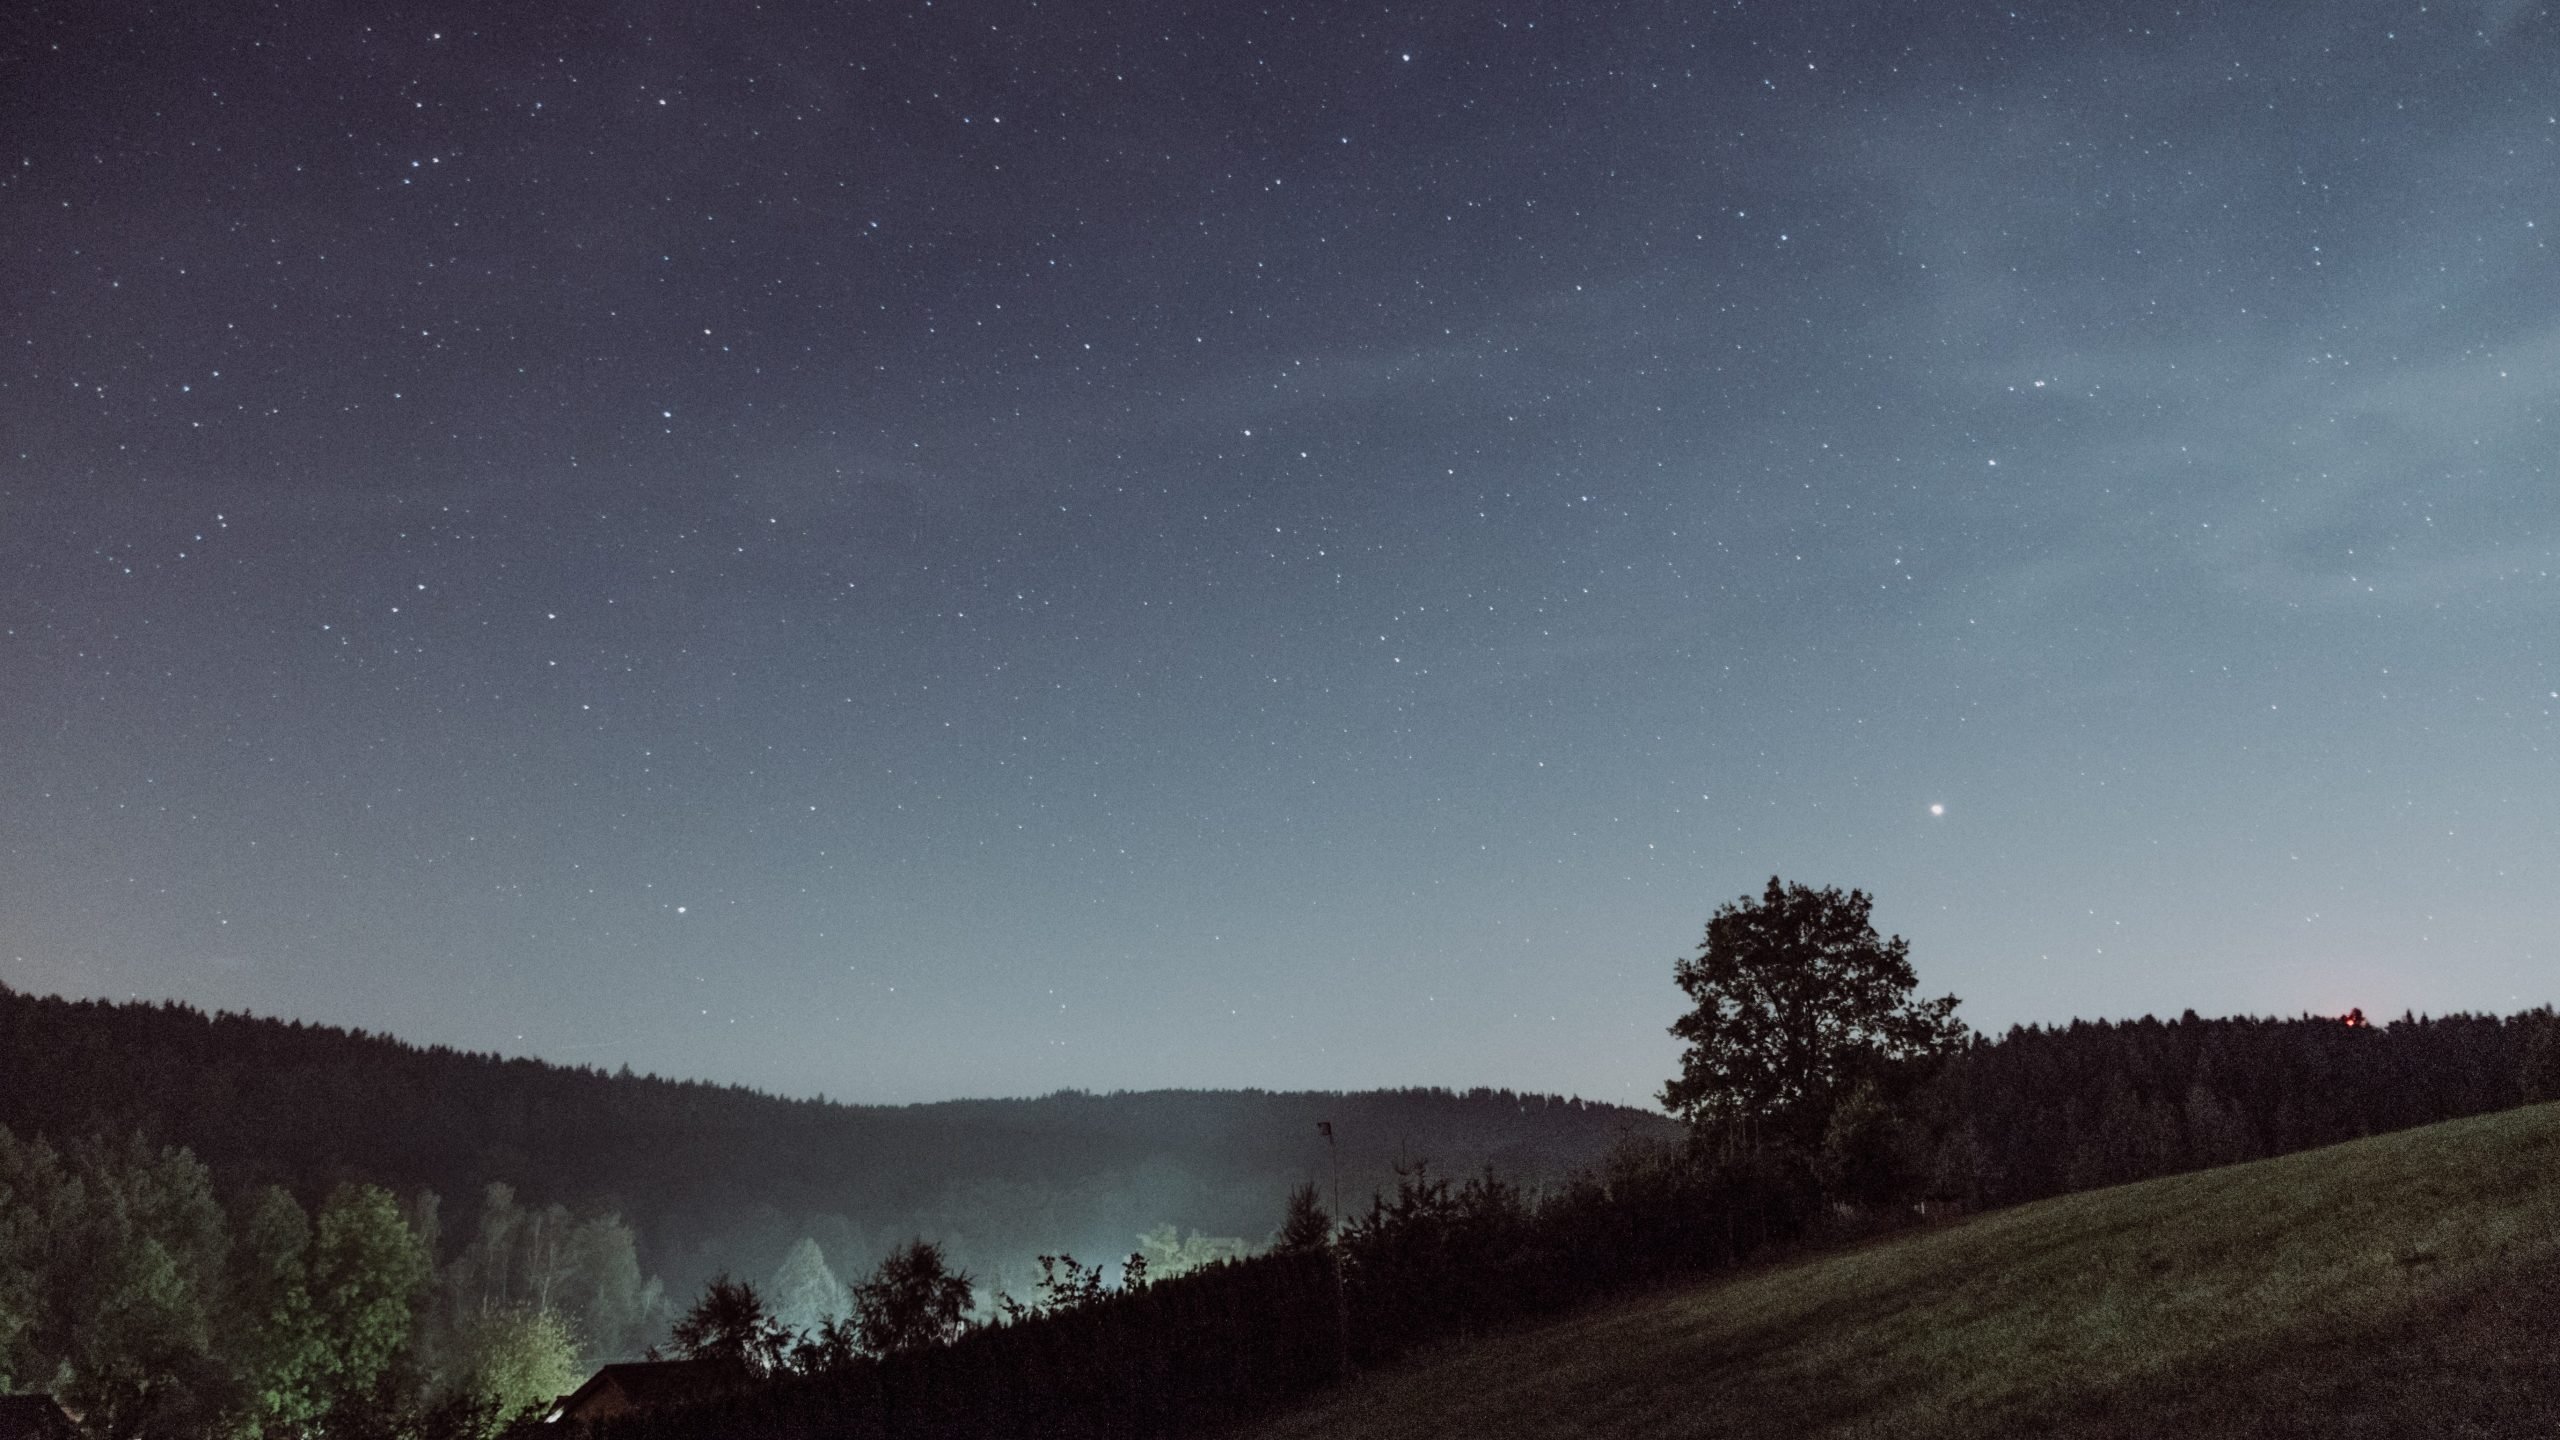
If you’re a regular nighttime photo taker, the iPhone 11 is an affordable device that has a smashing Night mode for you to indulge in! This is a device that allows you to capture all the beautiful magic within a shot at any hour of the day. The iPhone 11 gets an A star rating when it comes to its top-notch night photography power. If you’re already an iPhone 11 owner, or if you’re looking to purchase one, to turn on Night Mode all you have to do is open your camera > tap the moon icon in the left-hand corner, and this icon will turn yellow when the mode is active. To get the best results possible, make sure you have a steady hand and don’t move your device too quickly after taking the shot (this prevents any annoying blurs from occurring). Nighttime darkness is no longer an interference in the game of photography.
Which Aspect Ratio Is Best For Phone Photography?
When it comes to the technicality behind photography, there are little aspects you can tweak which can make a huge difference – aspect ratio being one of them. The aspect ratio of an image is the ratio of its width and height. It’s been found that there are certain aspect ratio sweet spots, that you can select depending on where you aim to post the photos, which give you the best-looking photos possible. For example, if you’re going to post your photo on Instagram, a 4:5 aspect ratio is recommended due to the platform’s vertical post layout. Always research your aspect ratios.


